My shopping cart
Your cart is currently empty.
Continue ShoppingFor those who are new to our site and want to create a custom look in minutes, the easiest way to get your feet wet is learning to use a clipping mask with our Layered Graphic Backgrounds. Click here to see these in our store.
Members Only How to Videos in the Secret Facebook Group that walk you through how to add fire, lightning, floral, powder, shattered, and other dynamic special effects to your photos to set you apart.
15 Minute Photoshop Makeover
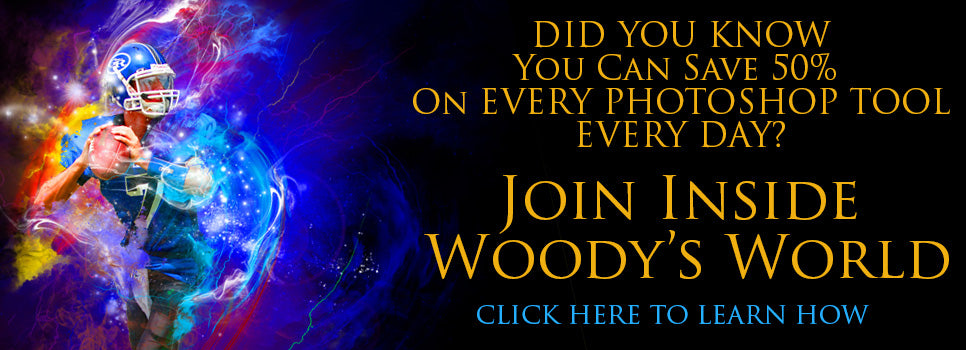
Inside Woody's World Hour Long Extended Class.
Free Products Every Month
Photoshop 101 Course Over an Hour Long
Monthly Photoshop Contests with Cash Prizes
Access to Our Secret Facebook Group for Office Hours with Direct Access to Woody Weekly Ask Any Question
One on One Help/Critiques with PPA Competition Print Entries
50% Secret Member Group Discount on EVERY PHOTOSHOP TOOL, EVERY DAY
Try it and you'll see why it's the best investment you will make in yourself. Download and keep everything EVEN IF YOU CANCEL! It's a no brainer!
Hi. I am Ninya Walters and I am here to bring you the photoshop tip of the week brought to you by our sponsor American Color Imaging. I have been getting a lot of questions about this and Louise especially just contacted us about clipping masks, And I think that she was a little confused about what a clipping mask actually is and what it can do for you. So I just want to show you a really quick tutorial about what a clipping mask is and how you can use it to your advantage.
So what I’ve got here is just a simple senior image that we have done. We added a little bit of a glow effect to him, and that makes his glasses go kind of cool. And what I want to do is to show you what a clipping mask is. So let’s go to File and New, and we are going to create a new document. I am just going to keep it at 12 x 12 at 300 dpi for this tutorial. It won’t really matter as I just want to demonstrate a quick concept for you.
Now when you are creating this for yourself you are going to make sure that you do this on a new layer. So I am going to press the new layer icon. And what you can do is click your brush icon, or your brush tool, and you can pick any brush that you want. You can pick anything from any of your brushes that are here. So let me just show you really crudely and simply how this tool works.
What I have is just a simple round brush and what I can do is I can paint in any manner, in any way. I can use a flow rate of 100% of 50%. Whatever I want to do. And I can just create a very simple shape. It doesn’t matter what color that shape is. It is just creating a simple shape outline. And let me just bring the flow rate down to about 50% so you can see what I am talking about. Just again, for demonstration purposes. And this is very crude and not at all anything that I would offer a client but I just want you to see what I am talking about when I am dealing with a clipping mask.
So I just have this simple shape that I have created using the paint brush tool. And again you want to make sure that you are on a new layer and that you have the black and gray transparent boxes showing. If you don’t have the transparent showing, then that is not going to be a clipping mask.
I am going to go to my move tool and I am going to select my image. I am going to drag it and then let it go on top of the clipping mask that we created. To transform this layer into a clipping mask you would press control + Alt + G. If you are on a MAC, you would press command + option + G. And you can see what it does is perfectly forms the image to whatever shape I have created in that layer below it. And you can see that we have a little downward facing arrow here and that just means that I have turned this into a clipping mask. It has actually clipped it to whatever is below it. And you can see that is underlined as well, and that is how you can tell that it is a clipping mask. Now since it is a clipping mask, what we can do is modify that further. Let me show on one of our backgrounds how that comes together.
What I’ve got here is the Graphic Painting Layered Background number 1, it is a background we released several weeks ago. And what it has, if you look at the file structure, it has a clipping mask that has been preset for you. It has a layer called clipping mask and then it has the downward arrow with “place image under me”. And what that is going to do, it is going to automatically, without you pressing anything on the keyboard, going to clip it into this shape. So let’s go back to the move tool, we are going to left mouse click over the top of our image and then simply drag and let go over the clipping mask. And that will bring it into our background. And you can see we have this downward facing arrow and that is exactly what we want, we want it to clip to this shape. So you can experiment with that and if you like the way it looks then that is great. But let me show you next why I think clipping masks are so great and so flexible and easy to work with.
What you can do on your clipping mask layer, Let’s say we want to bring a little bit more of his face back in. Let’s say that for some reason we want his face all the way over to the right, but this blue that is coming in isn’t very attractive and we want to see more of his face. What you can do with your clipping mask, is you can click on the clipping mask layer and then pick up any brush that you want. So you will go to your brush tool and I would pick anything that kind of works with your image. I would go with the smoke or the flour, anything soft is going to be good. The flaming brushes could be nice, the graphic brushes might be cool, it just depends on the look that you want for your image. For this tutorial, I am just going to pick a random brush, and this is one of the flame brushes. So I am on the clipping mask layer, my flow rate, I am going to bump that to about 75%. You can go all the way to 100 if you want. And I am just going to click one time. And you can see what that does. It starts to bring his face back in to the image, and it has changed the shape of the clipping mask. Because remember that you clipping mask is any shape that you want your photo to clip to. You want it to end up in that shape. So a clipping mask, you can modify this so much. You can take any image and make it conform to that clipping mask.
Now let’s say we want to mask out some of this area on our clipping mask. So to do that, what we would is add a layers mask. And we want to make sure that we are going to paint on that layer. And you grab any brush that you want. For this tutorial I am just going to keep this brush. You are just going to click and it is going to bring those areas back. This is a crude example, but you can see that masking on a clipping mask is going to give you that flexibility that you want. So, no matter what pose your subject is in, you can conform you clipping mask to whatever shape you want it to look like. And if you feel like you have masked out too much, you can bring the white swatch back on top, you can bring your flow rate back in and you can start to mask that area back in.
So you can see that the clipping mask is just a starting point. It is the exact shape that your image will clip to, and you can see how much flexibility you have built in with the clipping mask. So what a clipping mask will do is it will save you time and get you a general area that your image will form to and then you can fully customize that by using the brush tool on the clipping mask layer or by using a layers mask and subtracting with the brush tool.
I hope you found that helpful and I just want to tell you that we really appreciate all of our subscribers. We really appreciate you giving us feedback, asking us questions, and see us live at many of the events that we have been going to. And we just want to thank you for your continued support of our site and of our educational products. So from Woody and I, until next week, we are going to tell you to shoot from the heart and shoot with passion and we will see you at woodywaltersdigitalphotocandy.com